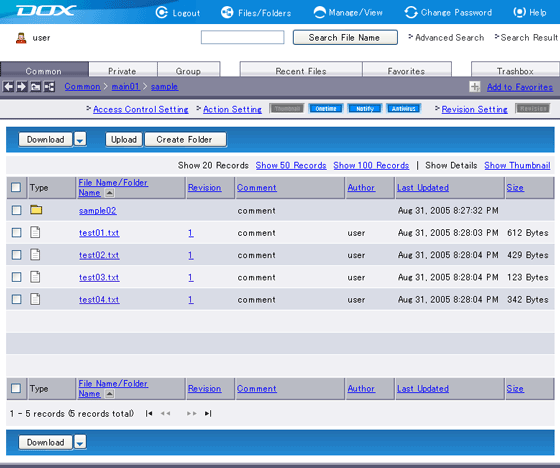
You can set an action(s) to a particular folder to automatically execute when a file(s) is uploaded to the folder or when the folder is copied.
The following four types of actions are available:
| Action | Description |
| Create Thumbnail | Create thumbnail images of the image files (gif, jpg, and png). These thumbnail images will appear in thumbnail view. Default is “OFF”. |
| Update Notification | Send a notification to the specified email address(es) when the file upload is complete. Default is “OFF”. |
| Publish Onetime URL | Publish Onetime URL for uploaded files. Default is “OFF”. |
| Antivirus Check | Check for virus at the time of file upload. Upload will abort when the virus is detected. Default is “ON”. |
Actions set on the folder will display as illuminated icons, in the order of “Create Thumbnail”, “Publish Onetime URL”, “Update Notification”, and “Antivirus Check”.
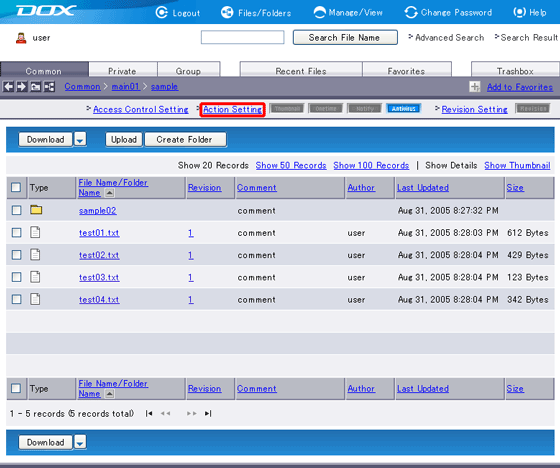
| Action Setting Type | Description | Remarks |
| Create Thumbnail | Select “ON” to create thumbnail images of uploaded image files (gif, jpg, and png). | Go to Step 4. |
| Update Notification | Select “ON” to send a notification to the specified email address(es) when file upload is complete. | When you select “ON”, click “Setting” on the right and go to Step 3. |
| Publish Onetime URL | Select “ON” to publish Onetime URL for uploaded files. | When you select “ON”, click “Setting” on the right and go to Step 3. |
| Antivirus Check | Select “ON” to check for virus at the time of file upload. Upload will abort when the virus is detected. |
Go to Step 4. |
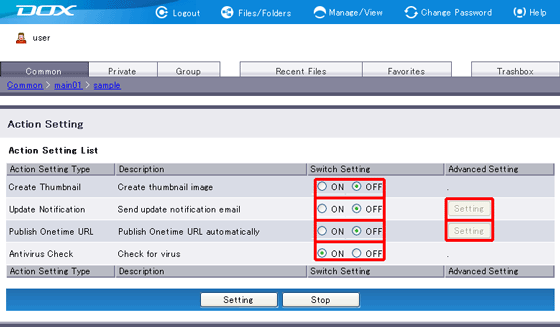
| Term | Description | Example |
| Specify email address (Required) |
Enter an email address(es) to send a notification. Single-byte alphanumeric characters must be used. Up to five email addresses can be specified. |
user@example.jp |
Sender address of a notification messages will be “info@notify.dox.jp”.
Be careful not to enter a wrong email address.
The number of update notifications will match the number of uploaded files.
We do not provide any support service to replies of update notifications. Please do not reply to update notifications.
The update notification looks as follows:
| Update notification message File: /main01/sample/test01.txt Created by: user Date: Sat Sep 10 19:19:52 JST 2005 |
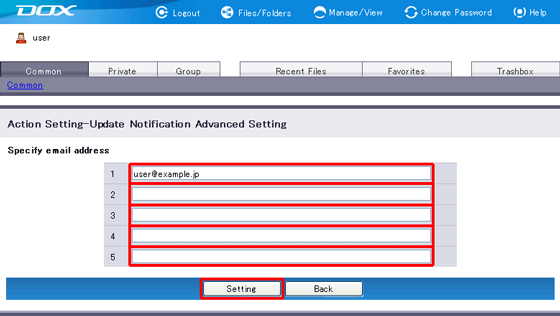
| Term | Description |
| Effective Period | Select the effective period for Onetime URL, ranging from one to seven days. Expired URL becomes inaccessible. |
| Allowed Download Count | Set a number between 1 and the maximum. URL becomes inaccessible once the download count exceeds the limit. The maximum count can be changed in "Manage/View" under "Misc". |
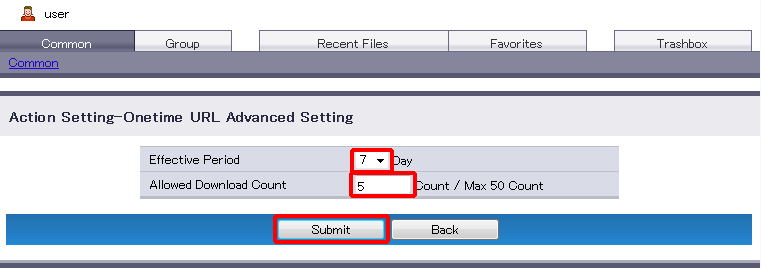
“Back” aborts application of advanced settings and reverts you to Step 2.
